Introduction
The dmesg command is a Linux utility that displays kernel-related messages retrieved from the kernel ring buffer. The ring buffer stores information about hardware, device driver initialization, and messages from kernel modules that take place during system startup.
The dmesg command is invaluable when troubleshooting hardware-related errors, warnings, and for diagnosing device failure.
In this tutorial, you will learn how to use the dmesg command in Linux.
Prerequisites
- A computer system running Linux.
- A user account with administrator privileges.
Syntax and Options
The basic dmesg command syntax is:
dmesg [options]The table below lists the most commonly used dmesg options:
| Option | Description |
|---|---|
-C, --clear | Clears the ring buffer. |
-c, --read-clear | Prints the ring buffer contents and then clears. |
-f, --facility [list] | Restricts output to the specified comma-separated facility [list]. |
-H, --human | Enables a human-readable output. |
-L, --color[=auto|never|always] | Adds color to the output. Omitting the [auto|never|always] arguments defaults to auto. |
-l, --level [list] | Restricts the output to the specified comma-separated level list. |
--noescape | Disables the feature of automatically escaping unprintable and potentially unsafe characters. |
-S, --syslog | Instructs dmesg to use the syslog kernel interface to read kernel messages. The default is to use /dev/kmsg instead of syslog. |
-s, --buffer-size [size] | Uses the specified buffer size to query the kernel ring buffer. The default value is 16392. |
-T, --ctime | Prints human-readable timestamps. |
-t, --notime | Instructs dmesg not to print kernel's timestamps. |
--time-format [format] | Prints timestamps using the specified [format]. The accepted formats are ctime, reltime, delta, and iso (a dmesg implementation of the ISO-8601 format). |
-w, --follow | Keeps dmesg running and waiting for new messages. The feature is available only on systems with a readable /dev/kmsg file. |
-x, --decode | Decodes the facility and level numbers to human-readable prefixes. |
-h, --help | Displays the help file with all the available options. |
Linux dmesg Command Examples
The examples are common dmesg command use cases.
Display All Messages from Kernel Ring Buffer
Invoking dmesg without any options outputs the entire kernel buffer, without stops, and with no way to navigate the output.
sudo dmesg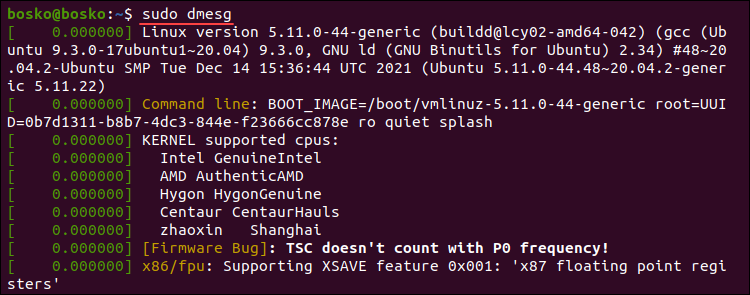
The example above is a partial dmesg command output. For easier navigation and better readability, pipe the dmesg output into a terminal pager such as less, more, or use grep.
For example:
sudo dmesg | less
Piping dmesg into less allows you to use the search function to locate and highlight items. Activate search by pressing /. Navigate to the next screen using the Space bar, or reverse using the B key. Exit the output by pressing Q.
Note: Read our article and learn more about the less command in Linux.
Display Colored Messages
By default, dmesg produces a colored output. If the output isn't colored, use the -L option to colorize it.
sudo dmesg -L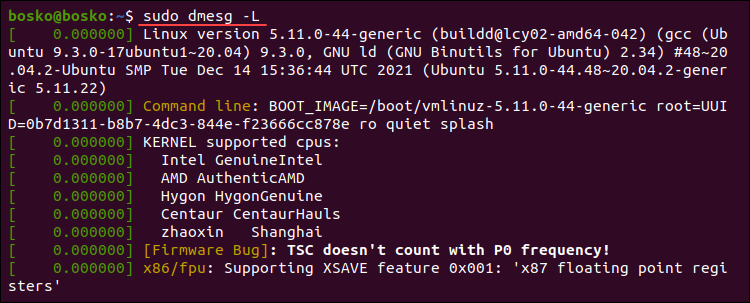
To turn off colored outputs, append the --color=never option to dmesg. Run the following command:
sudo dmesg --color=never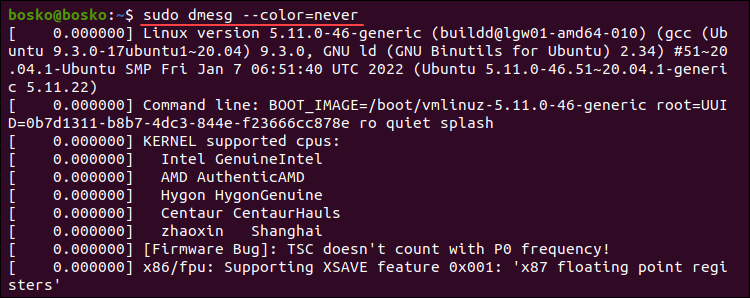
The default dmesg output is now uniform in color.
Display Messages as They Arrive
Monitor the kernel ring buffer in real-time using the --follow option. The option instructs the command to wait for new messages related to hardware or kernel modules after system startup.
Run the following dmesg command to enable real-time kernel ring buffer monitoring:
sudo dmesg --followThe command displays any new messages at the bottom of the terminal window. Stop the process using Ctrl+C.
Note: Run any command repeatedly with the Linux watch command.
Search for a Specific Term
When searching for specific issues or hardware messages, pipe the dmesg output into grep to search for a particular string or pattern.
For example, if you are looking for messages about memory, run the following command:
dmesg | grep -i memory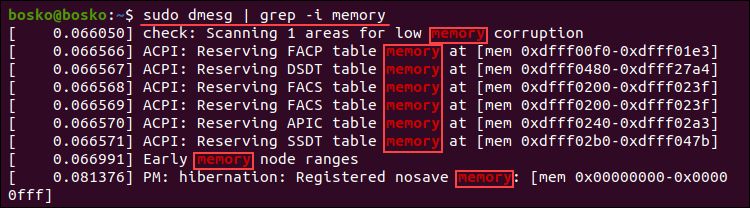
The output shows all the lines from the buffer containing the memory string. The -i (ignore case) switch ignores care sensitivity.
Alternatively, if you are looking for buffer messages about USB, serial ports, network, or hard drives, run the following commands:
USB
dmesg | grep -i usbSerial Ports
dmesg | grep -i ttyNetwork
dmesg | grep -i ethHard Drives
sudo dmesg | grep -i sdaSearch for multiple terms at once by appending the -E option to grep and providing the search terms encased in quotations, separated by pipe delimiters. For example:
sudo dmesg | grep -E "memory|tty"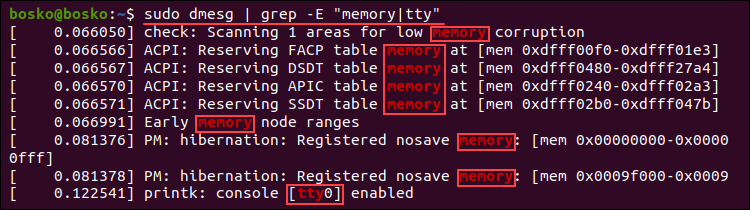
The output prints all the messages containing any of the search terms.
Read and Clear dmesg Logs
The -c (--read-clear) option lets you clear the dmesg log after printing it. Clearing the buffer ensures you have only valid messages from the latest reboot.
Note: To save the entire log in a file before clearing it, redirect the output to a file with sudo dmesg > log_file.
Run the following command:
sudo dmesg -cRerunning dmesg has no output since the log has been cleared.

Enable Timestamps in dmesg Logs
Enable timestamps in dmesg output by appending it with the -H (--human) option, which produces a human-readable output and automatically pipes the output into a pager (less).
Run the following command:
sudo dmesg -H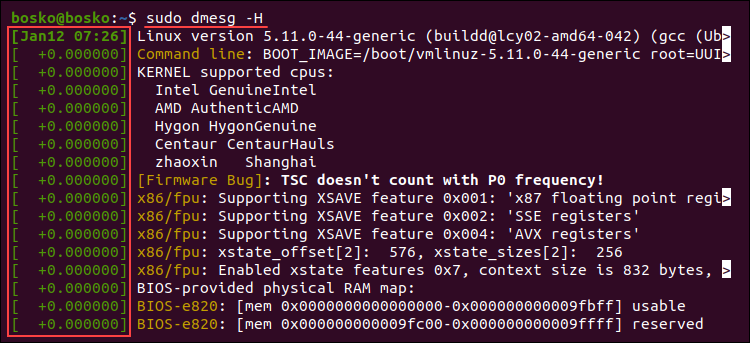
The command adds a timestamp with the date and time resolved in minutes. The events in the same minute are labeled with seconds and nanoseconds.
Quit the pager by pressing Q.
Enable Human-Readable Timestamps
Enable human-readable timestamps using the -T (--ctime) option. The option removes the nanosecond accuracy from the output, but the timestamps are easier to follow.
sudo dmesg -T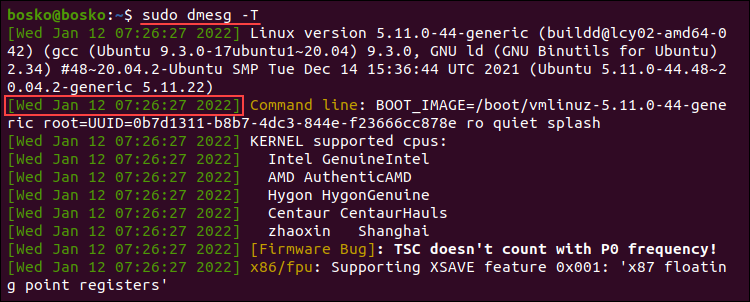
The timestamps in the output are standard dates and time, and the resolution is in minutes. The same timestamp is prepended to each action that occurred in the same minute.
Note: Unlike the -H option, the -T option doesn't automatically invoke less.
Choose Timestamp Format
Use the --time-format [format] option to choose the timestamp format. The available formats are:
ctimereltimedeltanotimeiso
For example, to use the iso format, run:
sudo dmesg --time-format=iso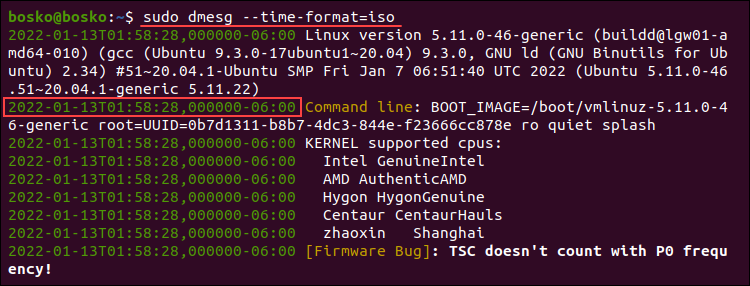
The timestamp format is now YYYY-MM-DD<T>HH:MM:SS,<microseconds>←+><timezone offset from UTC>.
Note: The iso and ctime may show inaccurate time when the system is suspended and resumed.
Limit dmesg Output to a Specific Facility
Filter the dmesg output to a specific category using the -f option. The system groups messages in the kernel ring buffer into the following facilities (categories):
kern. Kernel messages.user. User-level messages.mail. Mail system messages.daemon. Messages about system daemons.auth. Authorization messages.syslog. Internalsyslogdmessages.lpr. Line printer subsystem messages.news. Network news subsystem messages.
For example, the following command limits the output to messages related to the syslog facility:
sudo dmesg -f syslog
To list messages from more than one facility, specify a comma-separated list of facilities. For example:
sudo dmesg -f syslog,daemon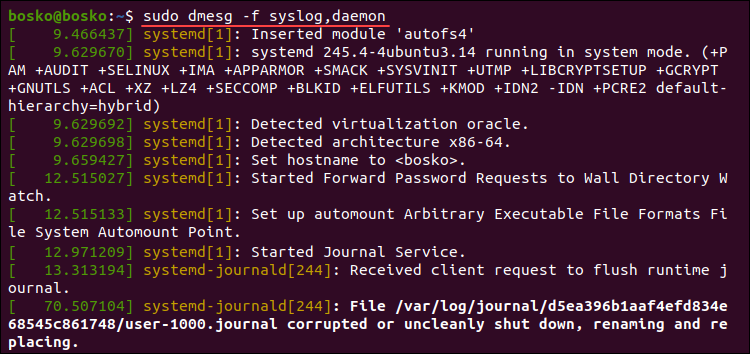
Filter Log Levels
The dmesg command associates each buffer message with a log level characterizing message importance. The available levels are:
emerg. Emergency messages.alert. Alerts requiring immediate action.crit. Critical conditions.err. Error messages.warn. Warning messages.notice. Normal but significant conditions.info. Informational messages.debug. Debugging-level messages.
Instruct dmesg to print only the messages matching a certain level using the -l option, followed by the level name. For example:
sudo dmesg -l info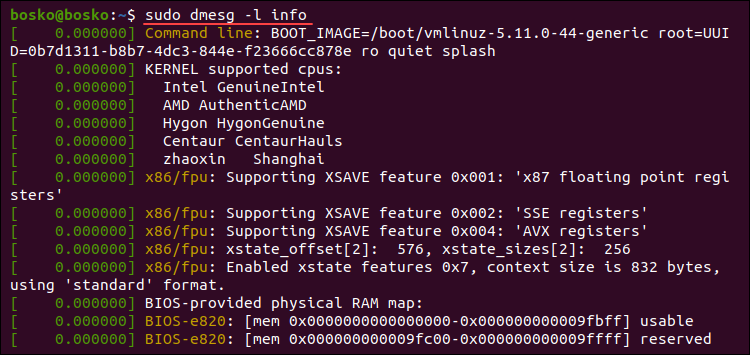
The example above extracts only informational messages from the log.
Combine multiple levels in a comma-separated list to retrieve messages from those levels. For example:
sudo dmesg -l notice,warn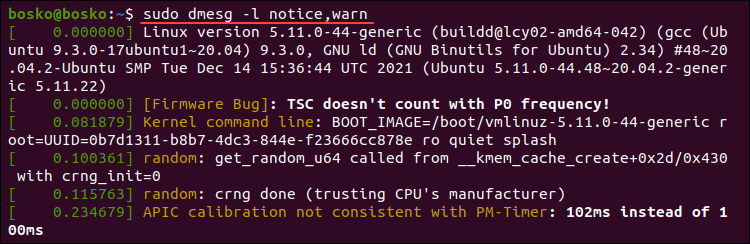
The output combines messages from the specified log levels.
Combining Facility and Level
Explicitly show each buffer message's facility and log level at the start of each line using the -x (decode) option.
For example:
sudo dmesg -x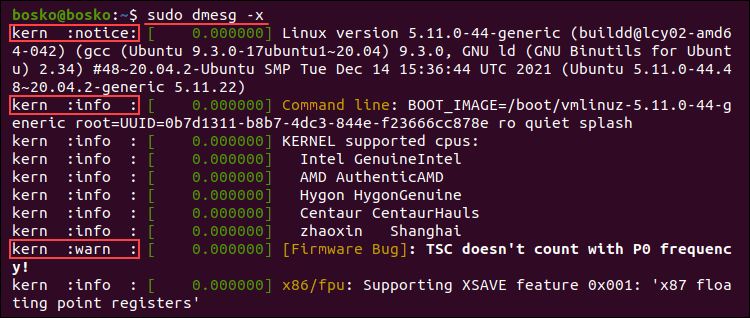
In the example above, each line is prepended with the appropriate facility and log level.
Read dmesg Log File
Each time the system boots up, the messages from the kernel ring buffer are stored in the /var/log/dmesg file. The dmesg command shows the log file contents. If you have issues using the dmesg command, open the log file in a text editor to view the contents.
Note: Read our tutorial for more information on Linux log files and how to read them.
In the example below, we use the cat command to view the log file and pipe it into grep to search for a particular string occurring in the log:
cat dmesg | grep amd
The command outputs all amd string instances in the log file.
Check for a CD Drive
Check if a remote machine is equipped with a CD drive by inspecting the buffer message log. For example, the following command shows all messages about CD devices initialized on startup:
sudo dmesg | grep -iE 'cdrom|dvd|cd/rw|cd-rom'
The results display information about the available CD-ROM drives, including the virtual CD-ROM drive on this machine.
Remove sudo Requirement
Removing the requirement for superuser privileges allows any user to run dmesg and view kernel ring buffer messages. Run the following command to remove the sudo requirement:
sudo sysctl -w kernel.dmesg_restrict=0
After setting the restrictions to 0, any user on the system can run dmesg.
Conclusion
This guide explained how to use the Linux dmesg command to view and control the kernel ring buffer. The utility is convenient when troubleshooting kernel or hardware issues.
For further reading, we recommend our tutorial on updating the Linux kernel in Ubuntu or checking the Kernel version in Linux.
