Introduction
The vi text editor has been the standard editor for Unix based systems for many years now. Over time, new versions and clones have incorporated new features and improved on the original text editor.
One of those clones, Vim (Vi Improved) includes features such as:
- visual mode
- new editing commands
- syntax highlighting with color schemes
- mouse support
With its user-friendly nature, Vim is now an integral part of nearly every Linux distribution.
As with most software, it takes time for the latest versions to become available in official repositories. This tutorial will show you how to install the latest version of Vim (8.2) on CentOS 7.
Prerequisites
- A user with sudo privileges
- Access to a command-line
Install Necessary Libraries
Vim 8.2 is not yet available from official CentOS repositories, so we need to retrieve the software from external sources. During the installation process, we will need to configure, build, and install Vim files manually.
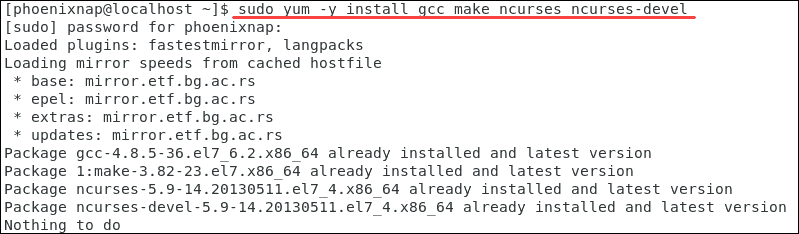
First, install the necessary tools. Type the following command in your terminal:
yum install gcc make ncurses ncurses-develThe system proceeds to install the libraries and packages needed for Vim functions and the installation process.
Additionally, install the libraries for the most commonly used programming languages by entering:
yum install ctags git tcl-devel \

ruby ruby-devel \

lua lua-devel \

luajit luajit-devel \

python python-devel \

perl perl-devel \

perl-ExtUtils-ParseXS \

perl-ExtUtils-XSpp \

perl-ExtUtils-CBuilder \

perl-ExtUtils-Embed
Remove Existing Vim Installation
Most Linux distributions have Vim installed by default. Use the list command to display installed packages / versions of Vim on your system:
yum list installed | grep -i vimThe output below lists the versions currently installed on your system.

Proceed to remove vim-enhanced, vim-common and vim-filesystem, by typing:
sudo yum remove vim-enhanced vim-common vim-filesystemNote: Even though vim-minimal is on the list, do not remove it. Functions of sudo are dependent on vim-minimal.
Download Vim Source from GitHub
Proceed to download the source with all the latest patches from GitHub by typing:
sudo git clone https://github.com/vim/vim.gitNext, access the location of the download by changing the directory. In this example we used:
cd vimInstall Vim from Source
To install Vim directly from source, use the configure, make, and make install commands.
Step 1: Configure Vim
First, create a configure script. This script makes sure that the dependencies required for the installation process are available. Type:
./configure --with-features=huge \

--enable-multibyte \

--enable-rubyinterp \

--enable-pythoninterp \

--enable-perlinterp \

--enable-luainterp
Step 2: Build Vim
Once Vim has been configured, invoke the make command to build the software. This command completes a series of tasks defined in the Makefile. Type the following command in your terminal:
makeThe system now builds the finished program from its source code.
Step 3: Install Vim
The software is now ready to run; the files are copied to their final destination. Type the following command to copy the built program, its libraries and documentation to the correct locations:
sudo make installUse sudo, as these locations often require full permissions.
Step 4: Verify Installed Vim Version
Once the installation process has run its course, use this command to determine the version of Vim:
vim -version | lessIn this case, the output confirms that this system now has Vim 8.2.

The installed features are preceded by a '+'. The features with a '-' are currently not available. This overview can help you decide which packages to add or remove based on your needs.
Conclusion
By following these instructions, you no longer need to wait for Vim 8.2 to appear in your official repositories, you can enable it right away.
You now know how to install the latest version of Vim on CentOS 7 in a few simple steps.
